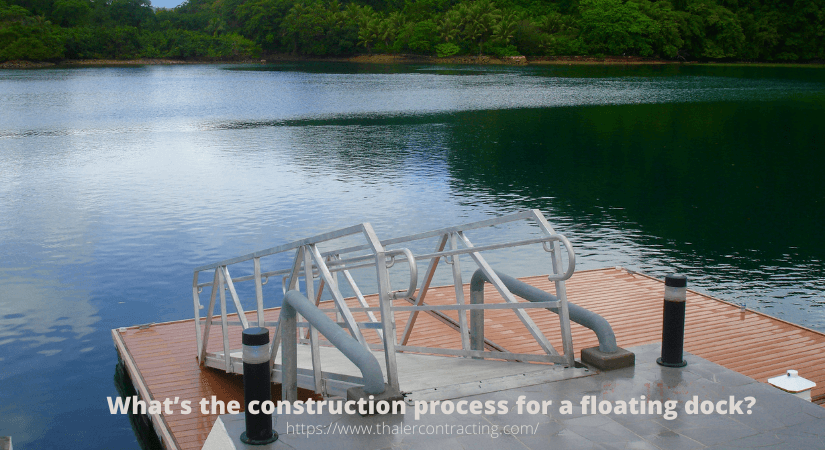
What’s the construction process for a floating dock?
You need a dock and are considering building one for yourself. You feel it’s worth the time and investment, considering your DIY interest. Learn the construction process for a floating dock today!
It is also normal for homeowners with some DIY experience to consider building their floating dock. You may need it immediately, or you may not know who to turn to for help.
However, if you are building it yourself, remember that it’s not enough to have just ‘some’ DIY expertise.
It’s because this is a rather large project and shouldn’t be your first sizeable DIY project.
It is okay for you to build one if:
- Any of your previous large-scale projects turned out well
- You can design structures to hold extra weight without harming you
If you are experienced, and confident of handling the project, then here’s how you can construct a floating dock.
How to build a floating dock: Construction process
Here is a list of required tools/materials:
- Socket ratchet
- Square
- Drill
- Tape measure
- Hammer or nail gun for better efficiency
- Writing utensil
- Saw
The hardware you need to keep handy includes:
- 9 docks floats ideally polyflanged foam-filled floats
- 6 angles
- 4 galvanized and heavy-duty inside corners
- 5-10 lbs of your preferred nails
- 3/8 x ½ 110 SS lag bolts with washers
Lumber:
Your frame/bracing needs this lumber:
- 2 side beams measuring 2 x8 x 12″
- 4 cross beams measuring 2 x 6 x 12′
- 2 end beams measuring 2 x 6 x 10′
- 7 supports for floats measuring 2 x 6 x 10′
For the decking, you need pressure-treated lumber, composite or other decking material:
- 20 planks measuring 2 x 8 x 10′
- 27 planks measuring 2 x 6 x 10′
The procedure: The construction process for a floating dock
Step 1: Cut lumber to make the desired frame

Cut lumber into the required length for a 10 x 12′ dock, or as per your specific dock measurements. However, make sure you first do the required calculations and designing before doing any cutting.
Building the dock upside down simplifies the float placement process.
Step 2: Build the frame

Construct the frame using the side and end beams and secure in place using the nail gun. Place the cross beams about 2 feet from the center to serve as the frame’s support beams.
Now, center the inside corners of each corner vertically. Then secure the lag bolts and screws to the inside corner with a socket wrench. Each corner needs 8 lag or carriage bolts.
Next, use the nail gun to secure the support boards. You will have to place three evenly support boards perpendicular to the stringer. This way, the floats have a left edge, center, and proper edge support for mounting.
Step 3: Placing dock floats on frame

Now that you have the frame ready, the next step lies in placing dock floats. Place them with the flat side down and the flange against the frame. Then using the socket ratchet, attach the floats to the support boards with lag bolt sets. Each float generally requires four lags each.
Step 4: Attaching decking wood floating dock

With the floats secured, you may require your friends’ help to flip the floating dock over. You can alternatively use a tractor to flip it over yourself.
Step 5: Securing angles in place
The next step involves securing the angles into place using the lag bolt sets and socket wrench. By doing this, you securely nail or screw the deck boards into the frame. If required, use a skill or chop saw to trim all uneven edges.

There you go! You now have your floating dock ready for use.
There’s just one more step.
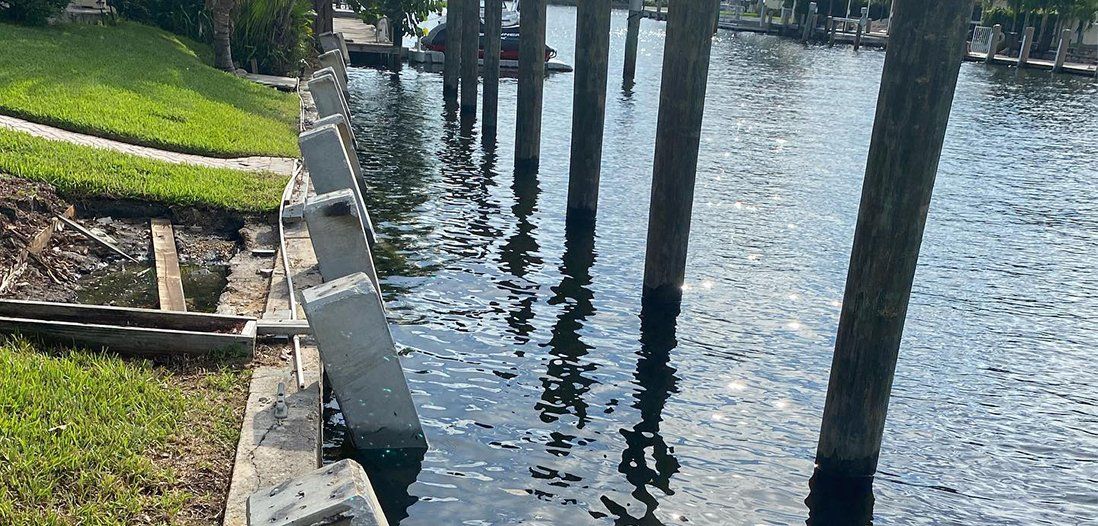
Don’t forget to tie the floating dock to appropriate sturdy pilings or poles using the necessary hardware. The last thing you want is to get up in the morning only to find your dock missing!
An additional tip for construction process for a floating dock
You can also apply some Rub Rail or Dock Bumper to give the floating deck a protective edge. And cleats, eye bolts, or other accessories serve as excellent dock accents too.
The floating dock construction process is relatively easy and rewarding once completed. Just remember to have safety equipment around like a life jacket before starting. And do not have kids playing around without any adult supervision.
Then, of course, you can always turn to your local dock builder for help. We will help build your floating dock using suitable materials and contractor service.
The post What’s the construction process for a floating dock? appeared first on Thaler Contracting Inc..


Share On: